
Easy Homemade Maple Granola Recipe
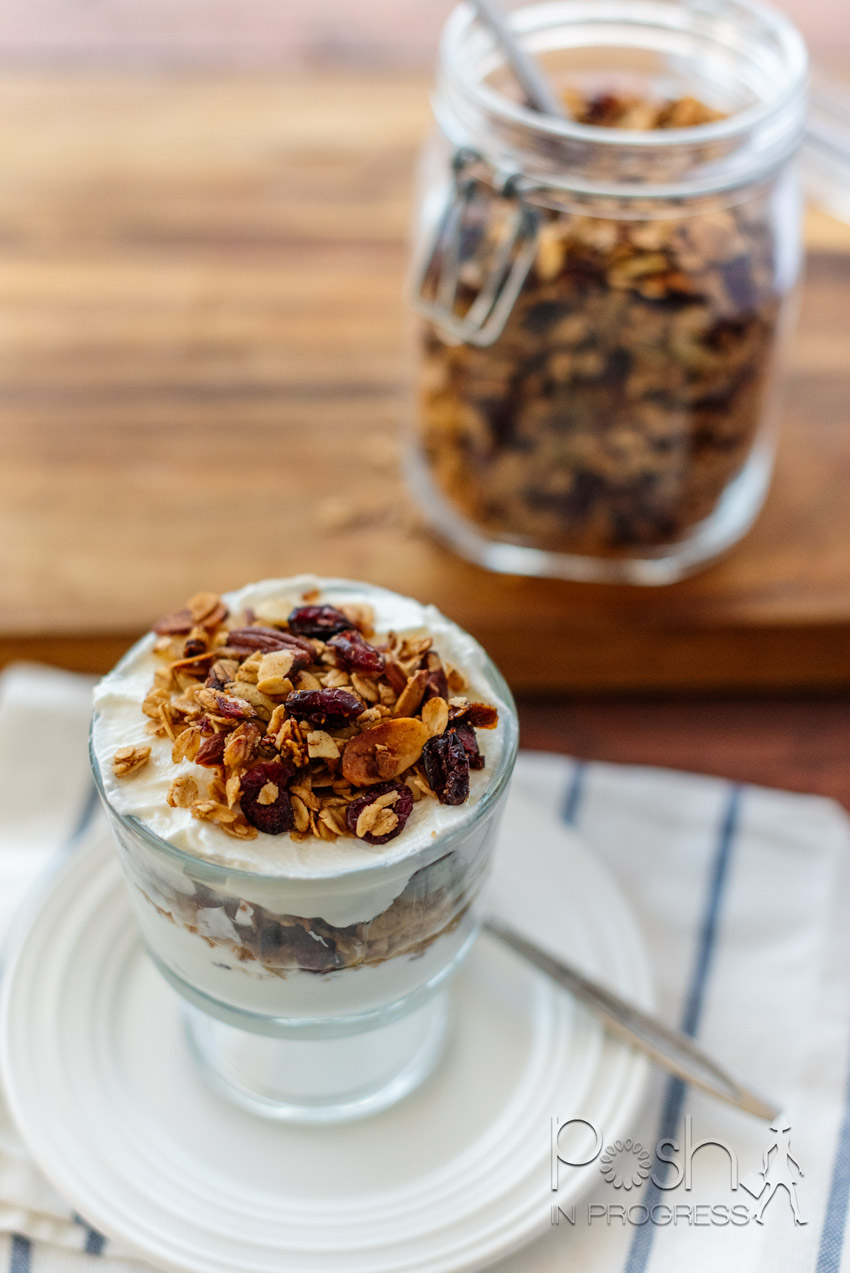
I go through phases where I forget how easy it is to make certain foods at home, and granola is definitely one of them. This easy homemade maple granola recipe takes just a few minutes to prep, and I love knowing exactly what is going into it.
This version is made with oats, almonds, pecans, pepitas, dried cranberries, maple syrup, and coconut oil. It has the perfect balance of crunchy, sweet, and slightly salty, and it's one of those recipes that's great to make once and eat throughout the week.
I've also been thinking more about simple ways to meal prep foods at home, and homemade granola is such an easy place to start. You can make a batch on the weekend and use it for breakfasts, snacks, yogurt bowls, or even just eat it by the handful.
How Do You Make Granola With Maple Syrup?
Making granola with maple syrup is incredibly simple. Maple syrup works as the sweetener while also helping coat the oats, nuts, and seeds so everything gets beautifully toasted in the oven. Start by combining old-fashioned rolled oats with chopped pecans, almonds, and pepitas.
In a separate bowl, mix pure maple syrup with melted coconut oil. Pour the maple mixture over the oats and stir everything together until it's evenly coated. Spread the granola mixture in an even layer on a parchment-lined baking sheet and bake until golden brown, stirring partway through so it cooks evenly. Once the granola has completely cooled, mix in the dried cranberries.
The biggest tip is to let your granola cool before breaking it apart. That's what helps you get those crunchy clusters everyone wants in homemade granola.
What Makes This Maple Granola Recipe Work?
What I like most about this maple granola recipe is that the ingredients are simple, but there are plenty of different textures.
The oats create the base, while almonds and pecans add crunch and richness. Pepitas add another layer of texture, and the dried cranberries give the granola a chewy, slightly tart contrast. Then there's the maple syrup.
I prefer maple syrup in homemade granola because it adds sweetness without overpowering everything else. It also pairs really well with the nuts, seeds, and coconut oil.
You can also customize this recipe depending on what you have in your pantry. Don't have pecans? Use walnuts. Prefer raisins instead of cranberries? Swap them in. You could even add shredded coconut or a sprinkle of cinnamon.
That's one of the best things about making your own granola. You don't have to follow one exact combination every time.
Is Homemade Granola Worth Making?
For me, yes. Homemade granola sounds like something that would take a lot of effort, but it's actually one of the easiest things you can meal prep.
Most of the work is simply measuring and mixing the ingredients. After that, the oven does the rest.
Making your own granola also allows you to control exactly what goes into it. You can adjust the sweetness, change the nuts and seeds, and add whichever dried fruit you like best. Plus, there's something about freshly baked granola that tastes so much better than what comes straight out of a bag. It also makes your kitchen smell amazing while it's baking.
Easy Homemade Maple Granola Recipe
Ingredients
- 3 cups old-fashioned rolled oats
- 1/2 cup chopped pecans
- 1/2 cup sliced or chopped almonds
- 1/2 cup pepitas
- 1/2 cup dried cranberries
- 1/2 cup pure maple syrup
- 1/3 cup melted coconut oil
- 1/2 teaspoon salt
- 1/2 cup dried cranberries
Instructions
- Preheat the oven to 325°F and line a large baking sheet with parchment paper.
- Add the oats, pecans, almonds, pepitas, and salt to a large bowl and stir to combine.
- In a small bowl, whisk together the maple syrup and melted coconut oil.
- Pour the maple syrup mixture over the oat mixture and stir well until everything is evenly coated.
- Spread the granola evenly over the prepared baking sheet.
- Bake for approximately 25 to 30 minutes, stirring once about halfway through.
- Remove the granola from the oven once it is lightly golden.
- Let it cool completely on the baking sheet before breaking it into clusters.
- Stir in the dried cranberries once the granola has cooled.
Store the granola in an airtight container and enjoy it throughout the week.
How to Get Crunchy Homemade Granola
One of the most common mistakes when making homemade granola is stirring it too much. If you want those bigger granola clusters, press the mixture into an even layer before it goes into the oven and avoid constantly moving it around.
After baking, leave it alone until it has completely cooled. It might not seem completely crisp when you first pull it out of the oven, but the granola continues to firm up as it cools. Once it's cool, you can break it into whatever size clusters you prefer.
How to Serve Maple Granola
I usually keep homemade granola around because there are so many easy ways to use it.
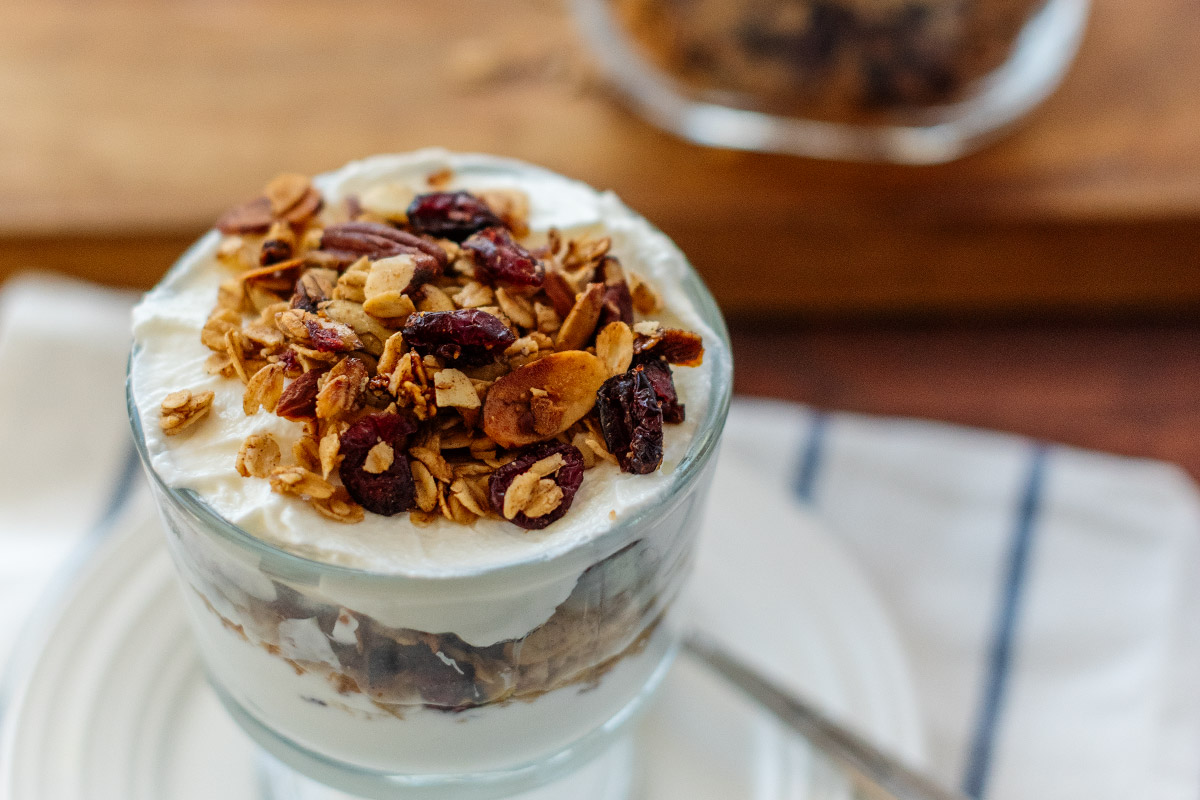
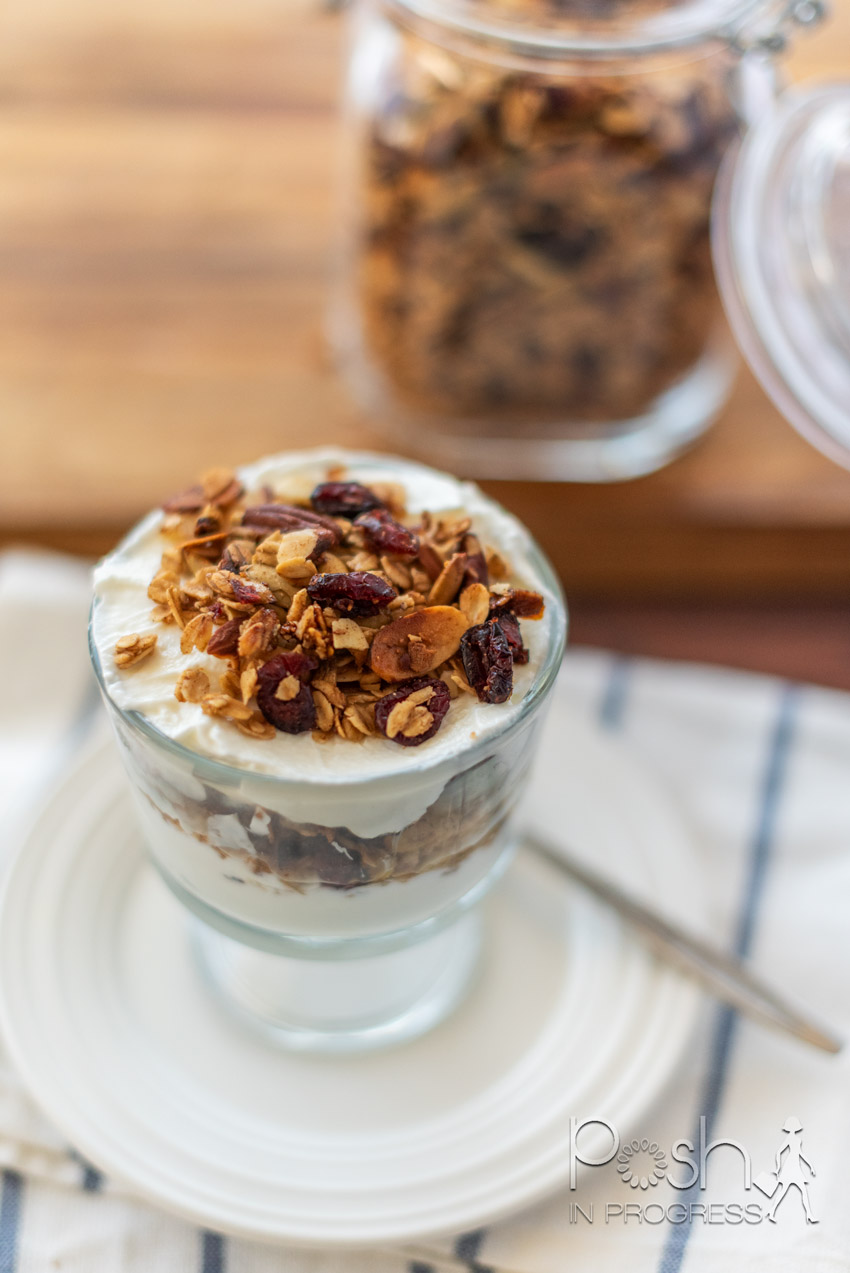
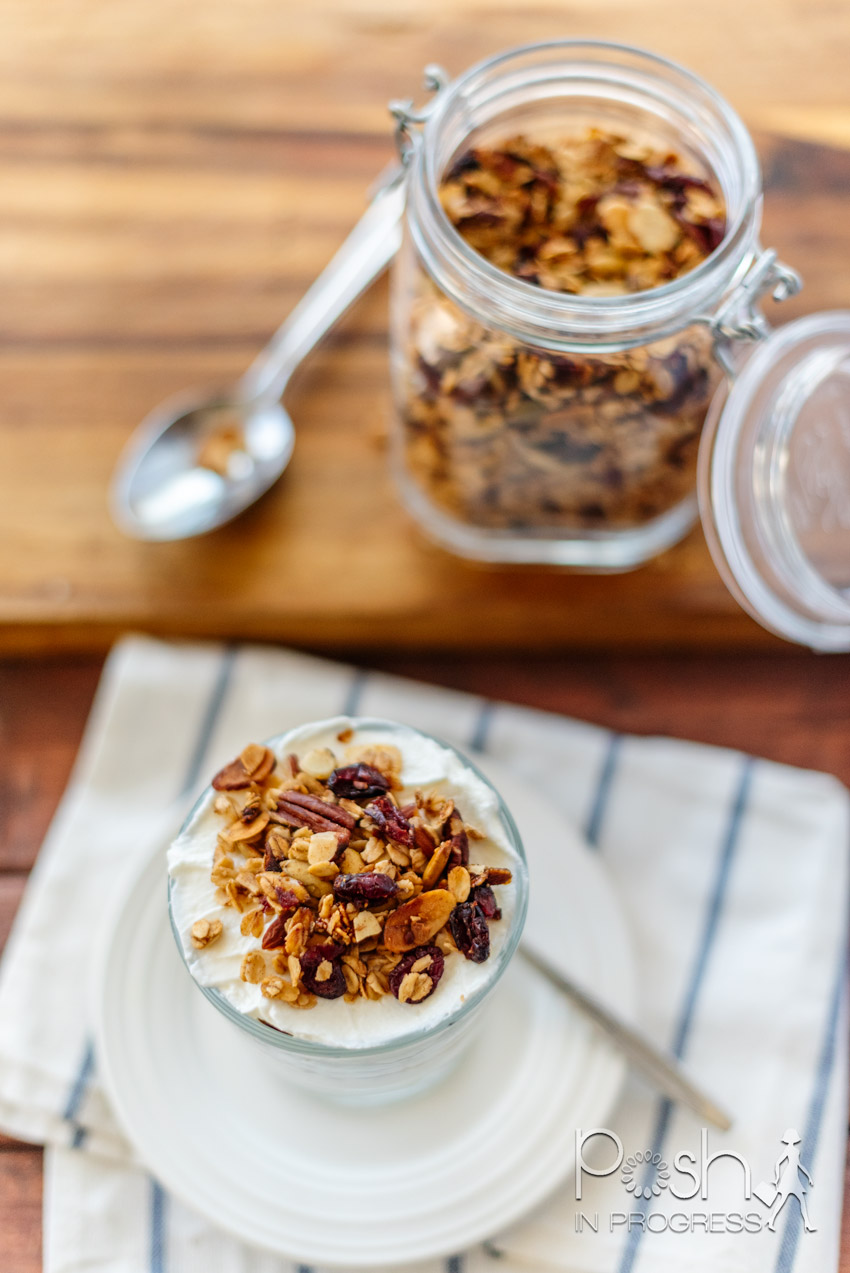
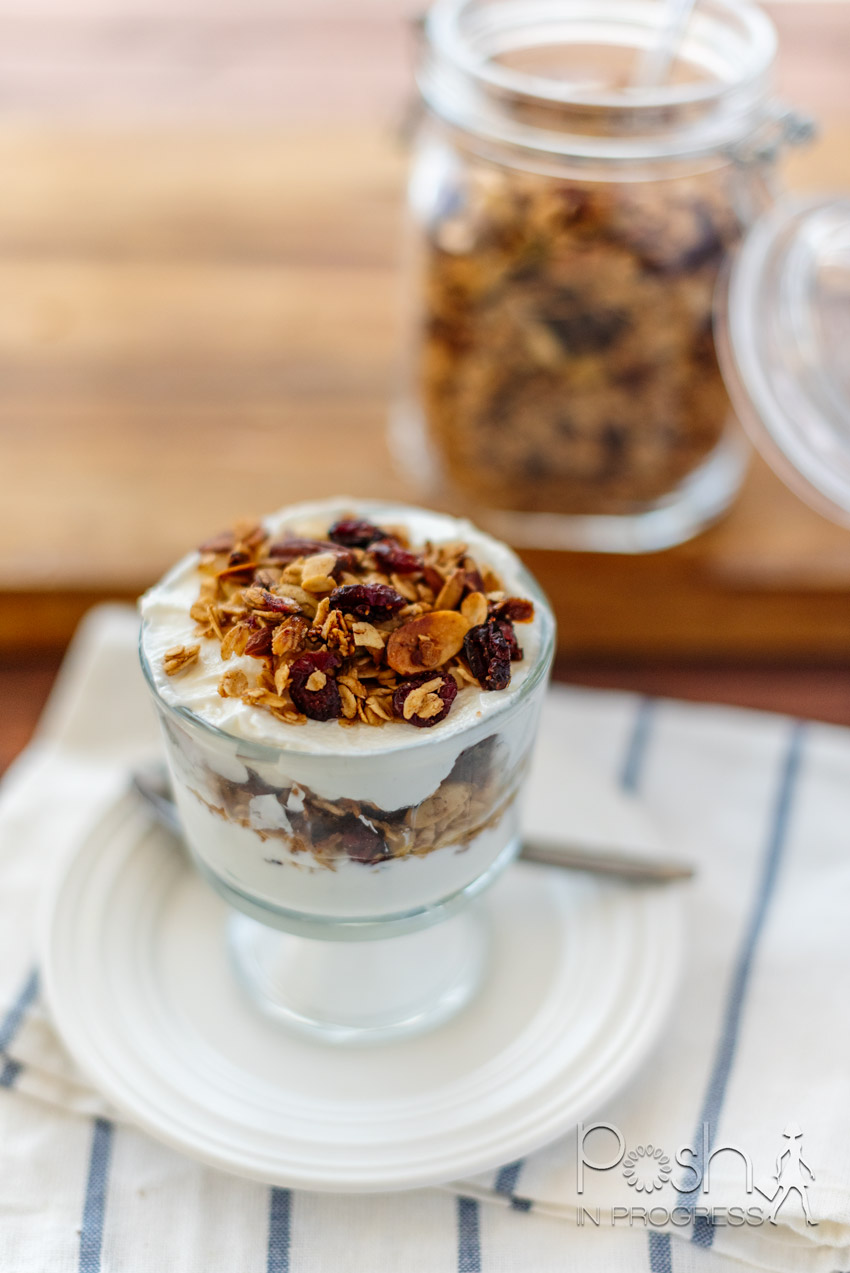
Add it to Greek yogurt with berries for a quick breakfast. Sprinkle it over a smoothie bowl. Serve it with milk like cereal, or simply grab a handful when you want something crunchy.
You can also layer this maple granola with yogurt and fruit to make easy breakfast parfaits for meal prep. And honestly, sometimes I just eat it straight from the container.
How Long Does Homemade Granola Last?
Once your maple granola is completely cool, store it in an airtight container at room temperature. For the best flavor and texture, I like to use it within about two weeks.
The most important thing is making sure it is completely cool before you store it. If you seal warm granola in a container, the trapped moisture can make it lose some of that crunch.
An Easy Granola Recipe to Make Again and Again
Once you realize how simple homemade granola is, it's hard not to start experimenting with different combinations. This maple granola recipe has become one of my favorite versions because it has everything I want: crunchy oats, almonds and pecans, pepitas, chewy cranberries, and just enough maple flavor. It's easy to make, easy to customize, and perfect for meal prep.
If you're looking for more easy recipes, travel inspiration, fashion finds, and everyday ideas, you can find more at Posh in Progress.

This site uses selective affiliate links, which means a commission is earned if you make a purchase via the link. The price you pay will be the same whether you use the affiliate link or go directly to the vendor’s website using a non-affiliate link.
Our editorial content is not influenced by advertisers or affiliate partnerships. We appreciate, and thank you for, your support!